- Images << Back to the previous page
-
-
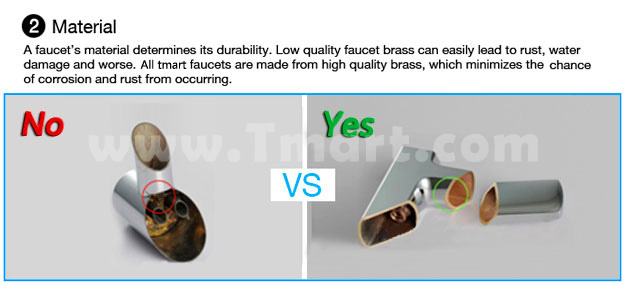
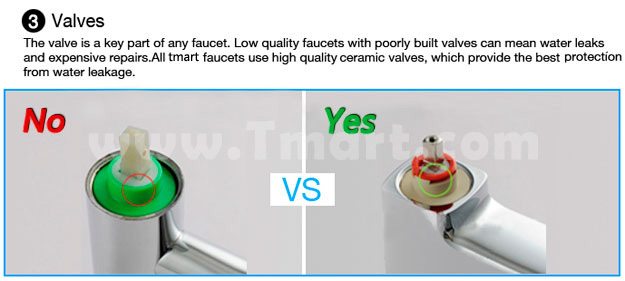
Quality Assurance Of Tmart Faucets:
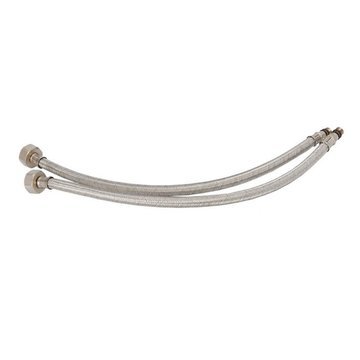
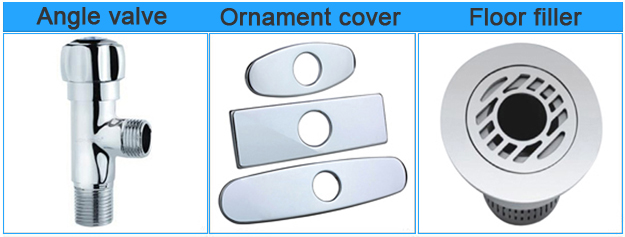
Accessories:
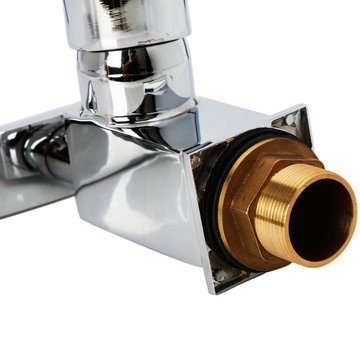
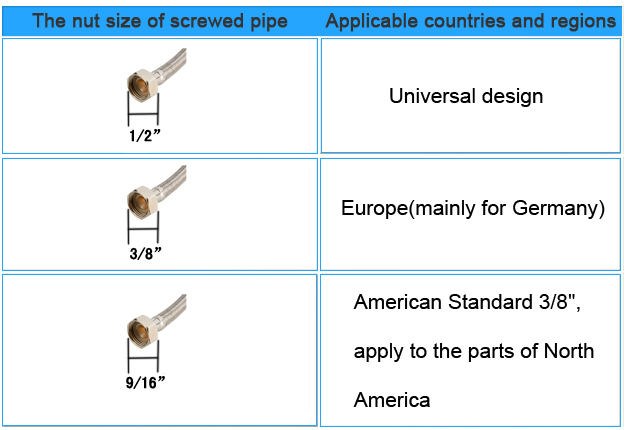
Fit Your Water Pipe
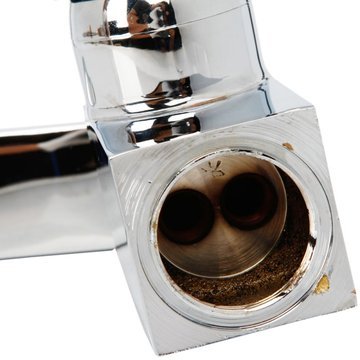
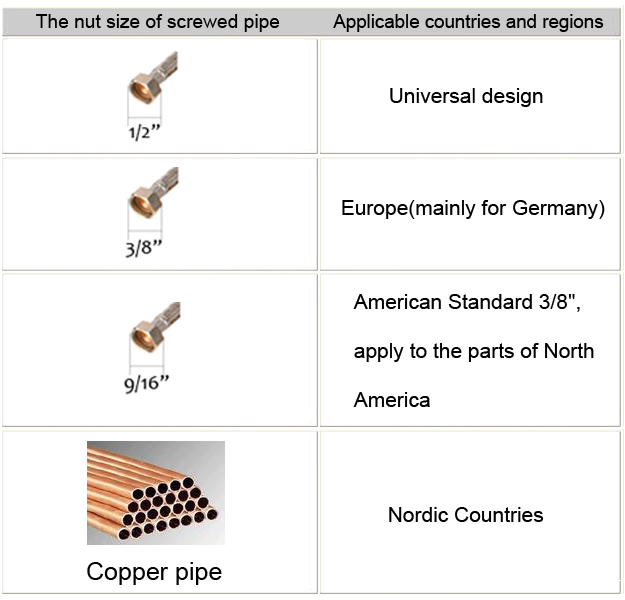
The nut joint size of hosepipe can be divided into four types: 1/2",3/8",9/16",3/4".
German market is the 3 / 8 ", and the size of 1 / 2" is very generic in other countries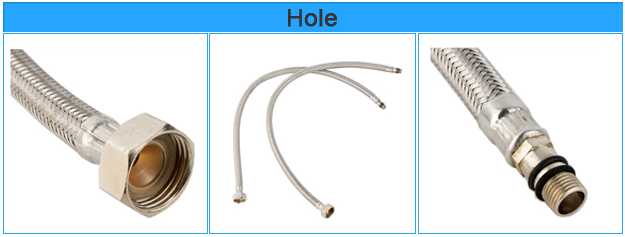
How to Install the Faucets:
Installation tools:
Sink Compatibility 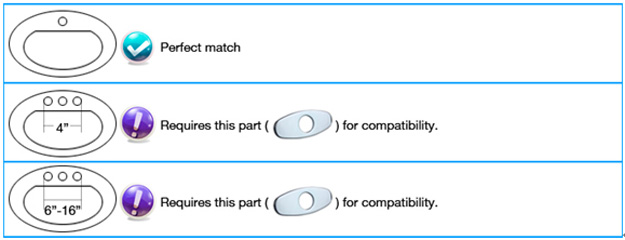
Step1: Position the Faucet
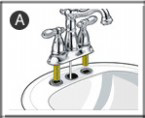
A: Please place the gasket and faucet in position on the sink before installation 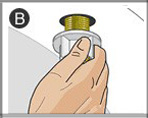
B: Please thread the plastic mounting nuts onto the faucet shanks under the sink and make sure the large side of each plastic mounting nut is up 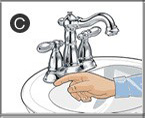
C: Please check the faucet and gasket positions again from the top of the sink 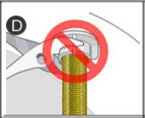
D: Please make sure to tighten the mounting nuts, but not to over-tighten. Over-tightening could damage the nuts and not easy to remove in the future. Step 2: Attach the Water Supply Tubes 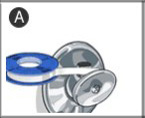
A: Use the Teflon tape to wrap the threads of the water-supply valve. Except for this Teflon tape, the plumber′s putty is recommended by some plumbing supply manufacturers. 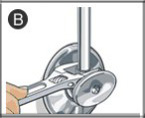
B: Please thread the water supply nut onto the shut-off valve and tighten the nut with a wrench. 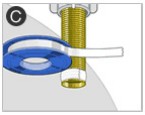
C: Use the Teflon tape to wrap the threads on the faucet shank, and then thread the water supply nut onto the faucet shank. 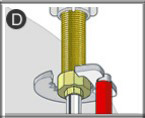
D:Tighten the nut with a wrench. Step 3: Connect the Faucet Lift Rod

A: Please insert the lift-rod into the faucet from the top of the sink until the pivot-rod is in the down position under the sink. Insert the lift-rod into the lift-rod strap, and tighten the screw.
B-1: Please ensure that the lift-rod opens and closes the drain plug as needed from the top of the sink.
B-2: You just loose the lift-rod strap screw and reposition the lift-rod if make any needed adjustments.
B-3: You just slide one end of the spring clip onto the pivot-rod if you need to connect the lift-rod strap to the pivot rod
B-4: Please ensure that both the pivot -rod and the lift-rod are in the down position. And insert the pivot-rod in the closest hole in the lift-rod strap.
Slide the other end of the pivot-rod. Make sure the lift-rod opens and closes the drain plug as desired.
B-5: Then slide the other end of the pivot-rod to ensure the lift-rod opens and closes the drain plug as needed.
C-1: You just need to loosen the lift-rod strap screw and reposition the lift-rod if you want to make minor adjustments for it.
C-2: You just need to remove the spring clip and move the pivot-rod to a different hole in the lift-rod strap if you want to make major adjustments for it.How to maintain it
1.Please wipe the surface of water faucet with dry soft cloth gently (not with impurities). Do not use steel wire scrubber or buckram. In addition, the faucet of the surface should prevent collisions with hard objects in order to avoid damage to the water nozzle.
2.Do not use any type of cleanser with strong friction, cloth or paper cloth. Do not use any acid and alkali cleaner, polished abradant or rough cleaner.
3.Please use soft cloth (not with impurities) dampened with mild detergent solution to gently wipe the surface of water nozzle. Do not use steel wire scrubber or scouring pad. In addition, it should prevent collisions with hard objects in order to avoid damage to the water nozzle.
4.Please use the following cleansers to remove thick mask and surface deposit: mild liquid glass cleaner, pure liquid glass cleaner, non-acid and non-wear gentle liquid or completely dissolved powder, non-friction solution polish.
5.In the case of the water pressure not less than 0.02mpa (0.2KGF/cm2), after using period of time, if you find that the amount of water decreases or even the water heater switches off automatically, all you do is to screw out the cover screen at the faucet water outlet and remove impurities, generally can be repaired.
6.For the protection of the surface of electroplated coating, do not use chemical substances to clean the product surface, such as the cleaning agent containing alkali salt is known to have a very strong corroding effect on the surface, then wipe with a soft cloth dampened with clean water, and the clean water must be no hard objects such as dust or sand.Cleaning
1.Don′t use a wet towel to clean the surface of water faucet directly
2.Don′t clean the water faucet with burr items
3.Don′t let the water faucet touch the acid-base solution
4.Don′t put the water faucet directly on hard surfacePlease use dry and soft cotton cloth to clean the water faucet.
Features
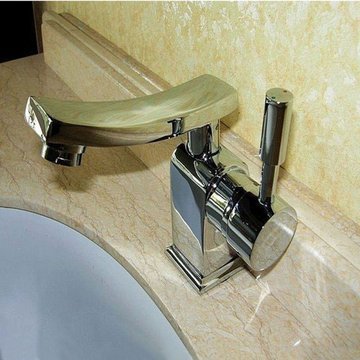
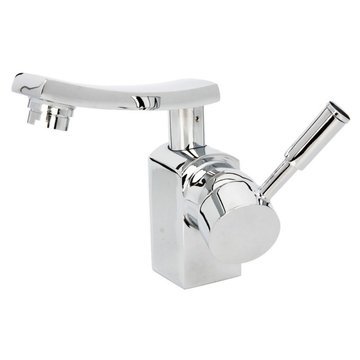
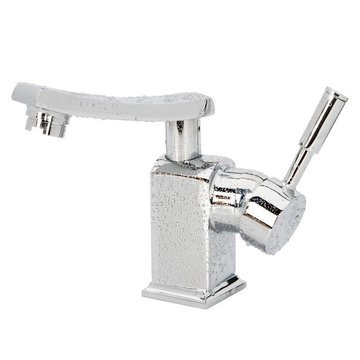
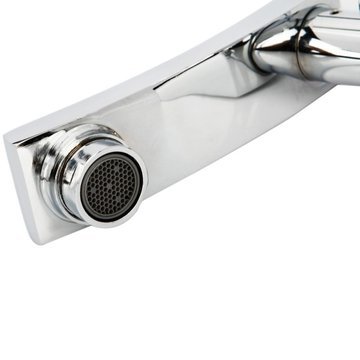
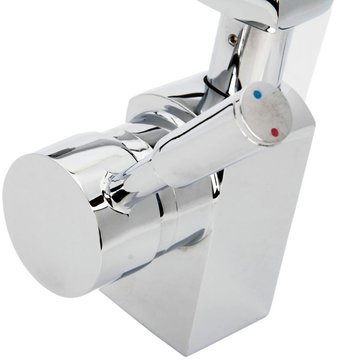
- Single hole mount, one handle design
- The faucet is fashionable enough to make your house look modern
- It′s easy for you to install the faucet correctly even if you never install faucets before
Specifications
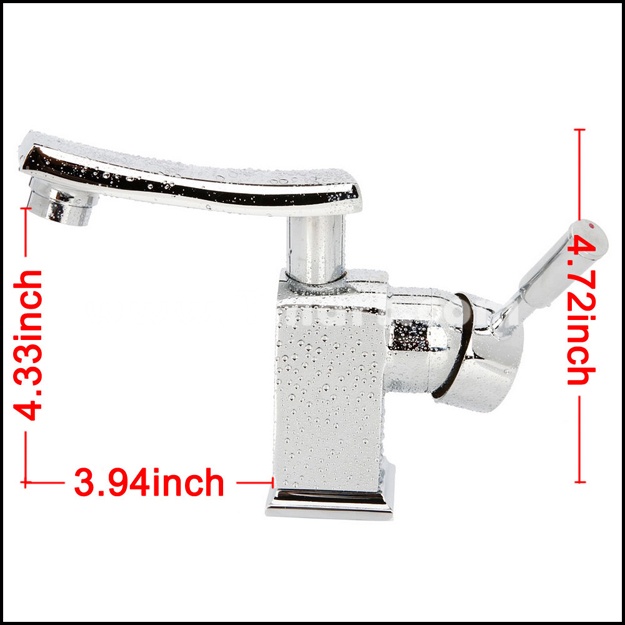
Type Basin Faucet Model Number YF-0843 Material Brass Feature Basin Faucet Style Contemporary Installation Holes One Hole Nunber of Handles Single Handle Net Weight (kg) 1.02 Overall Height (cm) 12 Spout Height (cm) 11 Spout Reach (cm) 10 Hose Length (cm) 39.5 Hose Specification G1/2′′, G3/8 Packing Size (cm) 25 x 15.7 x 6.9 Package Includes
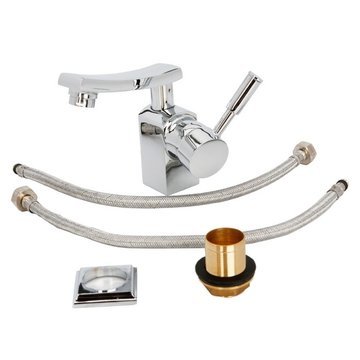
- 1 x Faucet
- 2 x Hoses
Extra Info
The nut joint size of hosepipe can be divided into four types: 1/2",3/8",9/16",3/4".German market is the 3 / 8 ", and the size of 1 / 2" is very generic in other countries 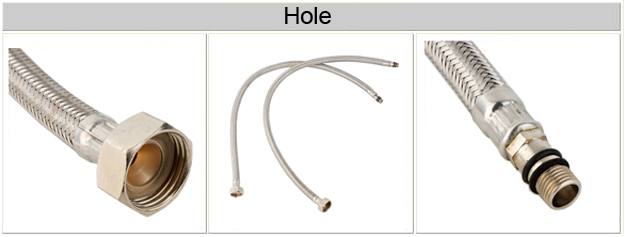
Accessories:
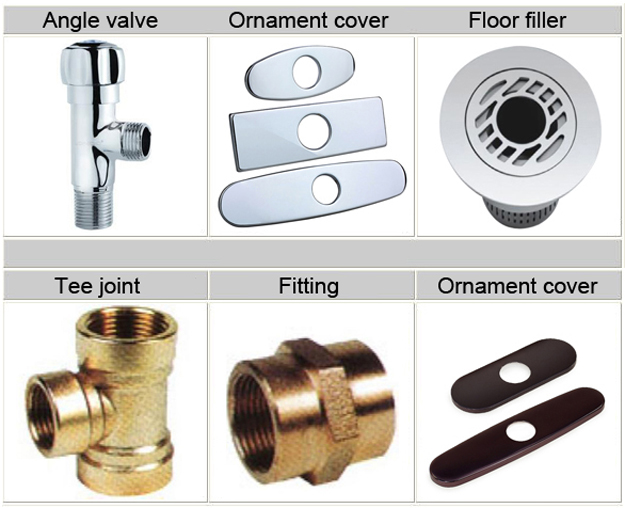
how to maintain it
1.Please wipe the surface of water faucet with dry soft cloth gently (not with impurities). Do not use steel wire scrubber or buckram. In addition, the faucet of the surface should prevent collisions with hard objects in order to avoid damage to the water nozzle.
2.Do not use any type of cleanser with strong friction, cloth or paper cloth. Do not use any acid and alkali cleaner, polished abradant or rough cleaner.
3.Please use soft cloth (not with impurities) dampened with mild detergent solution to gently wipe the surface of water nozzle. Do not use steel wire scrubber or scouring pad. In addition, it should prevent collisions with hard objects in order to avoid damage to the water nozzle.
4.Please use the following cleansers to remove thick mask and surface deposit: mild liquid glass cleaner, pure liquid glass cleaner, non-acid and non-wear gentle liquid or completely dissolved powder, non-friction solution polish.
5.In the case of the water pressure not less than 0.02mpa (0.2KGF/cm2), after using period of time, if you find that the amount of water decreases or even the water heater switches off automatically, all you do is to screw out the cover screen at the faucet water outlet and remove impurities, generally can be repaired.
6.For the protection of the surface of electroplated coating, do not use chemical substances to clean the product surface, such as the cleaning agent containing alkali salt is known to have a very strong corroding effect on the surface, then wipe with a soft cloth dampened with clean water, and the clean water must be no hard objects such as dust or sand.Cleaning
- 1.Don′t use a wet towel to clean the surface of water faucet directly
- 2.Don′t clean the water faucet with burr items
- 3.Don′t let the water faucet touch the acid-base solution
- 4.Don′t put the water faucet directly on hard surface
Please use dry and soft cotton cloth to clean the water faucet.
How can I deal with the problems happen on the faucet after I buy it?Abnormal Phenomena
Possible Reasons
Treatments
small water output
- 1.The blockage of bubble head filter
- 2.The blockage of litters in trim
- 3.The pump is smaller or is blocked
- 4.The quantity of water or the pressure of water is not enough
- 1.Dismantle the bubble head and clean the filter
- 2.Dismantle the heart and clean the litters
- 3.Exchange or clean the pipe
- 4.Increases the quantity or pressure of water
There is a leak or no water in the heart position.
- 1.The shaft of the heart broke
- 2.The plastic chip inside the heart broke
- 3.The ceramics in the heart is damaged
- 4.The heart nut is not locked tightly
- 5.The plastic shell of the heart is damaged or is parted
- 6.The heart rotation does not work or is blocked.
- 1.Exchange the heart
- 2.Exchange the heart
- 3.Exchange the heart
- 4.Tight up the nut firmly;
Exchange the heart
The bubble head or the outlet leaks
- 1.The heart is bad
- 2.The equipment is bad
- 3.The partition leaks
- 4.The bubble head is not fit tightly
- 5.The water stop pad is not installed
- 6.The outlet inner teeth are damaged or broke open
- 1.Exchange the heart
- 2.Reconfigure it
- 3.Change the body
- 4.Tight up the bubble head
- 5.Add the water stop pad
The inlet position leaks
- 1.The inlet nut broke open
- 2.The inlet inner teeth are bad or is damaged
- 3.The inlet teeth is much smaller
- 4.The nut is not fitted with O shaped circle or the nut is not fitted correctly
- 5.O-ring or the pad is aging
- 6.The pad is not fitted with or the pad is damaged
The inlet broke pen;
- 1.Exchange a good nut
- 2.Change the body
- 3.Exchange the body or do a rework
- 4.Add the O-ring or require it to be in place
- 5.Add a good pad
- 6.Exchange good quality inlet
The handle gets loose
- 1.The nuts on the handle are not fixed tightly
- 2.The handle teeth loosed
- 3.The wiggling scale of the heart shaft is larger
- 4.The handle does not fit the central shaft
- 5.The inside diving gear is damaged
- 1.Tight the nut
- 2.Exchange the handle
- 3.Exchange the heart
- 4.Exchange the matching handle or central shaft
- 5.Exchange a doo quality handle
Feel tight for the handle
- 1.The heart part or the nut is fixed too tightly
- 2.Fixed much tighter
- 3.Feel tight for the heart;
- 1.Loose the fixed nut for about 10nm-15nm
- 2.Exchange the heart
- 3.Slightly elevate the handle or until it does not get stuck
The surface is not satisfying
- 1.Blister, peeled, become yellow, wrinkle, crack, scratch hands, a lot pits,pinhole porosity, material compaction, shape distortion, hurts, scratching, paint removing, be oxidized,become black
- 1.Do not use the cleaning agent with acidity and the abrasiveness
- 2.Do not use the cleaning ball to clean the faucet surface
Water leaks from the faucet head
- 1.Incorrect installation
- 2.The accessory is broken or cracked
- 3.The handle is broken.
- 1.Reinstall
- 2.Replace the accessory
- 3.Replace the faucet head
Water leaks from the tube.
- 1.Disengage, deform, break, tear, crack
- 1.Replace the tube
Water leaks from the body.
- Water leaks from sand hole, flaw and clapboard
- 1.Replace the body
Lack of accessory
- 1.Forget to put in the package
- 2.Get lost while installing
- 1.Add the missing accessory
- 2.Pay attention while installing
Water leaks from the joint of faucet head and tube
- 1.The O-ring, or water stop gasket hasn′t been installed or the O-ring is too small
- 2.The teeth inside and outside is broken or cracked
- 1.Install the O-ring, water stop gasket or standard O-ring
- 2.Replace the high quality one
Water leaks from the five-way end cap or teeth tube joint
- 1.The water stop tape isn′t sealed well
- 1.Install the sealing tape well
Time lapse faucet can′t stop outflowing or takes long time to outflow.
- 1.Heart in bad condition
- 2.The press between valve body and valve core is not enough
- 3.The time lapse spring is not strong enough to get the water out in time
- 1.Replace the heart
- 2.Reinstall it tightly
- 3.Replace the spring and adjust the time of outflowing
Water leaks from time lapse faucet
- 1.Water stop gasket is broken
- 2.The heart nut gets loose or is skewed
- 3.The joint is not tight
- 4.The heart can′t stop water outflowing
- 1.Replace the water stop gasket
- 2.Reinstall it with glue to keep it tight
- 3.Reinstall it with glue to keep it tight
- 4.Clean up the impurities inside and check the heart gasket ring
- 5.Replace it if it is broken or without enough hardness (standard: 85)