- Images << Back to the previous page
-
-
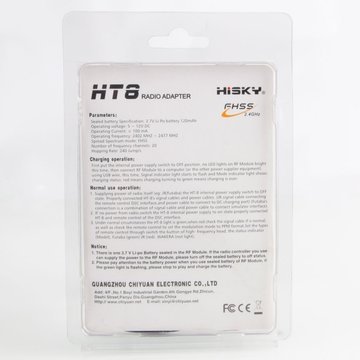
Charging operation:
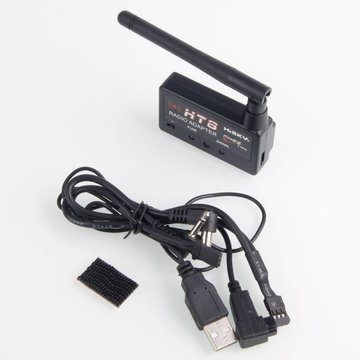
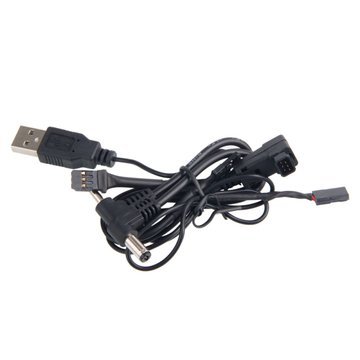
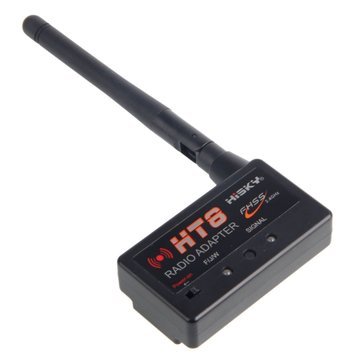
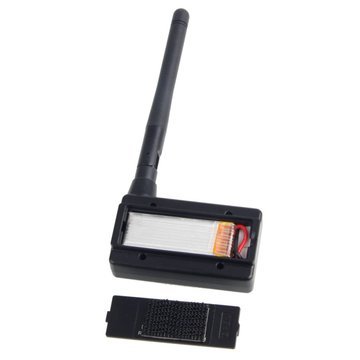
First put the internal power supply switch to OFF position,no LED lights on RF Module bright this time,then connect RF Module to a computer (or the other power supplier equipment)using USB wire,this time,Signal indicator light starts to flash and Mode indicator light shows charging status:red means charging,turning to green means charging is over.Features
Nomal use operation:
1.supplying power of radio itself (eg:JR/Futaba) the HT-8 internal power supply swith to OFF stare.Properly connected HT-8´s signal cables .(JR signal cable connecting the remote control DSC interface,and power cable to cnnnect to DC charging port)(Futaba´s connection is a combination of signal cable and power cable to connect simulator interface).
2.If no power from radio,switch the HT-8 internal power supply to on state.Properly connected HT-8 and remote control of the DSC interface.
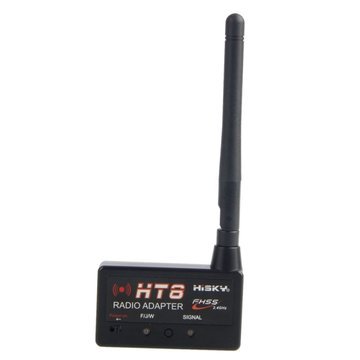
3.Under normal circumstances the HT-8 light is green,when red check the signal cable if is normal,as well as check the remote control to set the modulation mode to PPM format,Set the types of remote control through switch the button of high-frequency head,the status indicator of remote control through switch the button of high-frequency head,the status indicator (Model),futaba(green) JR(red).WAKERA (not light).Specifications
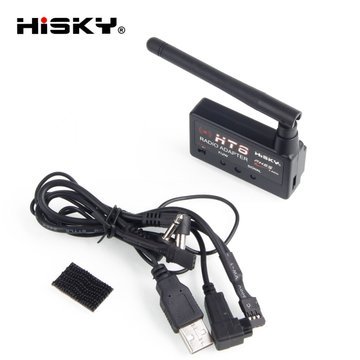
Dimensions (6 x 3.5 x 2.0)cm / (2.36 x 1.38 x 0.79)" (L x W x H) Weight 3.49 oz / 99 g Color Black Battery 3.7V Li-Po Battery 120mAh Voltage DC 5-12V Current 100mA Frequency 2402 MHZ - 2477MHZ Hopping Rate 240 Jump / s Package Includes
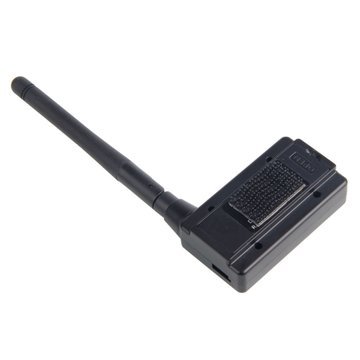
- 1 x Radio Adapter
- 2 x Cable
- 1 x Accessory